How to Hand-Build a Pinch Pot: Beginner Guide with Tips
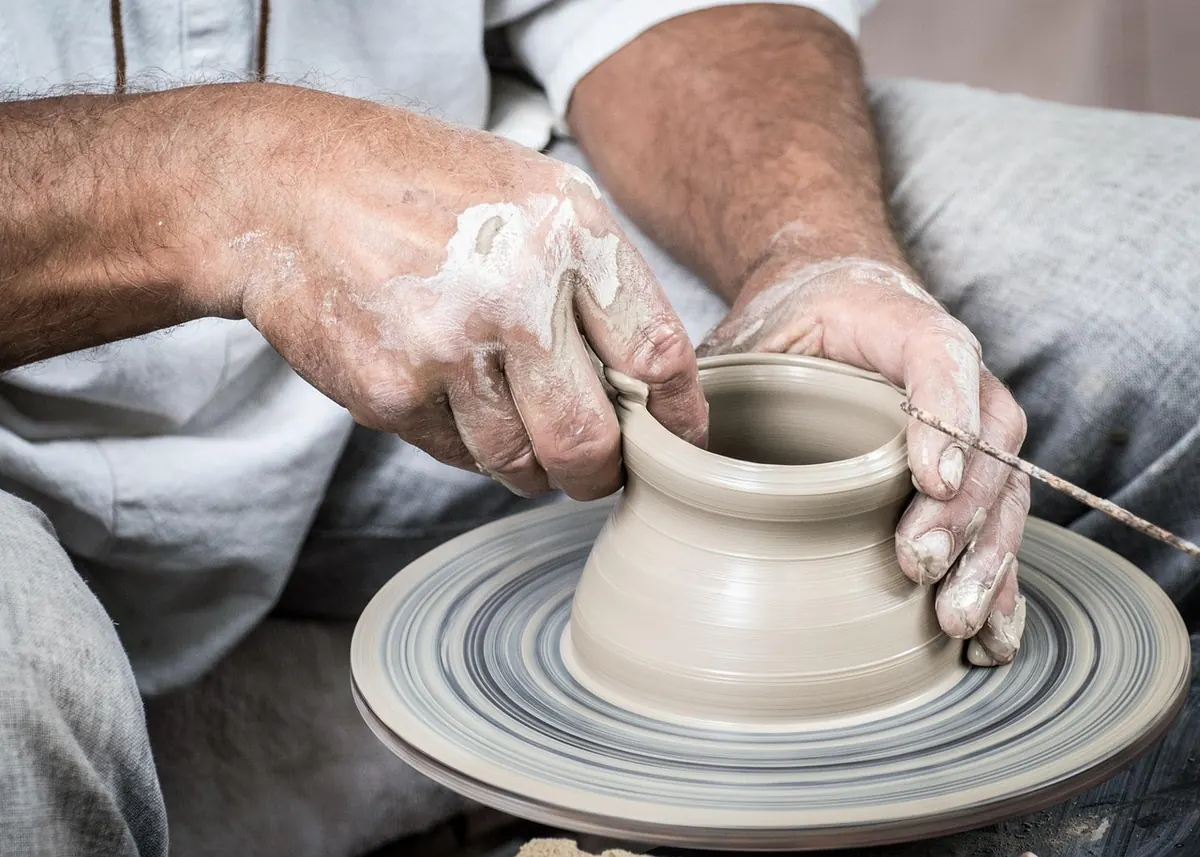
Almost every potter has made a hundred pinch pots, even if nobody ever sees them. The technique is simple enough to learn in an afternoon and stubborn enough to keep teaching you for years. You need clay, your hands and a flat surface. What you do with those three things decides whether you finish with a pot that rings when you tap it or a lopsided bowl with a split running out of the base.
Pinching is also the cheapest way to learn what clay wants. There is no wheel to blame, no mould to hide behind. You feel every thin patch and every soft spot under your fingers, which is exactly why it makes better potters out of beginners faster than almost anything else. Here is how to form, shape and refine a pinch pot, and how to avoid the two problems that ruin most of them.
Choosing and Preparing the Clay
Start with a clay body you can dent with a thumb but not one that sticks to your skin. Slightly soft clay pinches easily; clay that is too wet slumps and tears, and clay that is too stiff cracks at the rim before you have finished the second rotation. If you are reclaiming clay from a bucket, spread it on a plaster bat for an hour or two until it stops feeling tacky.
A stoneware body with a little grog is forgiving for beginners because the grog opens the clay and helps it hold a shape. Smooth porcelain looks lovely and behaves badly in unskilled hands: it tears, it dries unevenly, and it remembers every clumsy squeeze.
Weigh your clay before you start. Around 100 to 150 grams is a plum-sized ball and makes a comfortable first bowl; anything over 250 grams gets hard to control by hand. Then wedge it properly. Spiral wedging or a simple kneading motion pushes out air pockets and evens out the moisture. Roll it into a smooth sphere between cupped palms on a wooden board. That ball is the template for the pot: an even sphere gives you even walls, and a lumpy one gives you thin spots before you have touched the inside.
Forming the Pot, Step by Step
Open the ball
Set the ball on a wooden board or a plaster bat rather than a bare metal wheel head, where wet clay grips and refuses to release. Press your thumb straight into the centre, stopping about a centimetre above the board. That leftover clay is the base, and it needs to stay the thickest part of the pot. Push through it now and you will be patching a hole later.
Widen the opening by rotating the ball steadily while your thumb presses outward and your fingers support the outside. Aim for a cavity about the size of a walnut before you begin pinching.
Pinch the walls
- Hold the pot with the base resting in one palm and your other hand steadying the rim.
- Place your index finger inside the cavity and your thumb outside, directly opposite.
- Pinch with the pads of both fingers, squeezing gently and sliding upward a few millimetres.
- Rotate the pot a little and repeat, working around the circumference in overlapping passes.
- Begin near the base and move upward, so each pass evens out the one before it.
- Leave the rim slightly thicker than the walls. A thin rim dries first and splits.
- Set the pot down for five minutes whenever it starts to feel floppy, then continue.
The motion is closer to squeezing and sliding than to pulling. If you find yourself stretching the clay upward like dough, stop and reset: you are thinning the wall instead of moving it.
Even Walls: Where Pinch Pots Go Wrong
Thin walls are the beginner's signature. They happen for three reasons: pinching with the fingertips instead of the pads, holding the pot in one spot too long, and starting with a ball that was never properly round.
Check the thickness as you work. Pinch gently and let go. If the clay springs back a little, you have thickness to spare. If your outside thumb can clearly feel the shape of the inside finger through the wall, you are down to two or three millimetres and should stop working that area. A small bowl wants walls of roughly five to eight millimetres.
Keep the pot moving. Rotating by a quarter turn every few pinches spreads the pressure and stops a single thin band from forming. Support the outside with your free hand while the thumb works inside. If a wall does go thin, do not try to fix it by squeezing the weak spot together. Reinforce from the inside instead: press a small coil of soft clay against the thin area, blend it with a damp finger, and compress the patch.
Even thickness matters more than shape. A slightly lumpy pot with consistent walls will survive drying and firing; a beautifully shaped one with a paper-thin base will not.
Cracks, and How to Stop Them
Cracks in pinch pots usually trace back to one of four causes: uneven wall thickness, a base that was never compressed, sharp corners at the rim, or drying that happened too fast. Deal with the first three while the clay is still soft and the fourth afterwards.
- Compress the base. Rub the inside of the floor with a fingertip, a spoon back or a wooden tool in small circles. This aligns the clay particles and greatly reduces the S-shaped cracks that appear in flat bases.
- Round every edge. Run a damp finger around the rim and the outer base join. Sharp transitions dry faster than the surrounding clay and split first.
- Repair small cracks immediately. Dampen the area, press the clay back together and compress with a rib or finger. For a wider split, fill it with a thin coil, blend and compress.
- Slow the drying down. Cover the finished pot with a plastic bag or an upturned bucket and let it firm up over two or three days. Turn it upside down once it is leather hard so the base dries at the same rate as the rim.
- Keep it away from heat. A radiator, a sunny windowsill or a draughty shelf will open cracks in an afternoon.
If you add anything to the pot later, such as a handle, a foot or a coil decoration, join it at the same stage of dryness. Score both surfaces, add slip, press firmly and smooth the seam. Wet clay stuck onto leather-hard clay is one of the most reliable ways to produce a crack.
Shaping Beyond the Basic Bowl
Once the walls are even, shaping is quick and mostly about pressure from outside. For an oval, rest the pot on its base and gently squeeze the rim between both palms, rotating as you go. For a squared form, press four opposing sides flat against the board, a little at a time, and leave the corners slightly thicker than the faces. A shallow dish comes from pinching wider and flaring the rim outward with a damp finger.
Two pinch bowls joined rim to rim make a hollow form and a good exercise in joining. Score both rims, add slip, press them together and blend the seam. Prick a small hole through the wall before the piece dries, so air can escape during firing.
Texture works best at leather hard, when the clay holds a mark without deforming. Press a leaf, a piece of hessian or a textured rib into the surface, then refine the rim with a damp sponge. Burnishing with the back of a spoon at the same stage gives a soft sheen that survives a bisque firing without glaze.
A Simple Practice Routine
Make five pinch pots in one sitting from identical 100-gram balls. Weigh, wedge, form and dry them side by side. The first will be clumsy and the fifth noticeably better, and the comparison tells you more than any instruction. Keep a note of the weight, the wall thickness you aimed for and how long each pot took to firm up.
Dry everything bone dry before firing: the pot should feel room temperature against your cheek and sound dull when tapped. Then bisque fire as usual. Pinch pots also make excellent glaze test tiles, since a small curved surface shows how a glaze breaks over an edge. Expect your first ten to be imperfect. That is not a setback; it is the normal route to hands that know what five millimetres of clay feels like.
Photo: LubosHouska / Pixabay