Local Clay and Terracotta: Using Regional Earth Materials in Pottery
Local clay is rarely convenient. It arrives as a lump of stubborn earth, full of sand, roots, and surprises. It also carries something commercial clay bodies cannot: a direct record of place. The color, grit, and firing behavior of a regional clay can give pots a character that feels rooted rather than purchased. Working with it asks for patience, note-taking, and a willingness to test before committing a kiln load. The reward is a palette of materials that belongs to your landscape.
Why Local Clay Is Worth the Trouble
Commercial clay bodies are reliable because they are blended and aged to behave predictably. Local clay is the opposite: one deposit may throw beautifully and fire pale, while another from a nearby bank slumps, cracks, or turns an unexpected red. That variability is not a flaw to eliminate. It is the reason to work with it.
Think of local clay as a starting point rather than a finished product. You may need to blend it with sand, grog, or a more plastic clay. You may need to sieve it, dry it slowly, or fire it lower than you first intended. Each adjustment teaches you something about the material. Over time, you build a small library of bodies and slips that no supplier can replicate.
Sourcing Local Clay Responsibly
Clay turns up in places that are easy to overlook: road cuttings, construction excavations, pond edges, riverbanks, and the spoil from a neighbor’s drainage work. Brickworks and tile factories sometimes sell or give away clay, though it may already be blended or fired. Ask before you dig, and keep the quantity modest.
- Ask permission. Speak to the landowner, site manager, or local authority before removing material. A polite request and a small sample are usually easier than a truckload.
- Avoid protected and unstable ground. Stay away from archaeological sites, nature reserves, farmland, and riverbanks where digging could cause erosion. Rules vary by place, so check local guidance if you are unsure.
- Take samples, not scenery. A few kilograms from several spots is more useful than one large lump. Label each bag with the location, date, and depth.
- Watch for contamination. Avoid clay near roadsides with heavy runoff, industrial waste, or obvious chemical contamination. If the material smells strongly of fuel or chemicals, leave it alone.
- Respect the source. Fill small holes, avoid damaging roots and banks, and do not return to the same spot until it has recovered.
From Ground to Studio: Reading and Testing
Before clay reaches the wheel, it needs a rough assessment. Some tests happen in the field; others belong on the studio bench. Neither needs expensive equipment.
Field tests first
Moisten a handful and work it into a short coil. If it holds together and bends without breaking, it has some plasticity. If it crumbles immediately, it is likely short and sandy. Roll a thin ribbon and drape it over your finger; a long, flexible ribbon suggests a plastic clay, while a short, brittle ribbon warns you not to expect much stretch. A jar test is equally useful: shake a sample in water, let it settle, and observe the layers. Sand settles first, then silt, then clay. That rough ratio tells you whether the material needs sieving, blending, or grog.
Bench tests that matter
Dry the sample thoroughly, crush it, and slake it in water. Sieve out stones and roots, then dry the slurry to a workable consistency. Make small test bars and tiles, label them, and fire them on the schedule you plan to use. Measure shrinkage from wet to dry and from dry to fired. Check for warping, cracking, and color. A simple absorption test—weighing a fired tile dry, soaking it, and weighing it again—will tell you how porous the body remains. Keep records; memory is a poor lab notebook.
Adjusting the Body: Sand, Grog, and Patience
Many local clays are too sticky, too sandy, or too short for the work you have in mind. Additions can help, but change one variable at a time. Sand and grog open a dense body, reduce shrinkage, and make drying safer. A plastic clay can be blended in to improve workability. Very sticky clay may benefit from a little fine sand; very short clay may need a more plastic companion and careful wedging.
Aging helps, too. Wrap the prepared clay in plastic and let it rest for several days or longer. Moisture evens out, and the body often becomes more cooperative. Do not assume an addition has solved the problem until you have made and fired new test tiles with the revised body. A clay that throws well but cracks in the kiln is not yet a working material.
Working With Terracotta
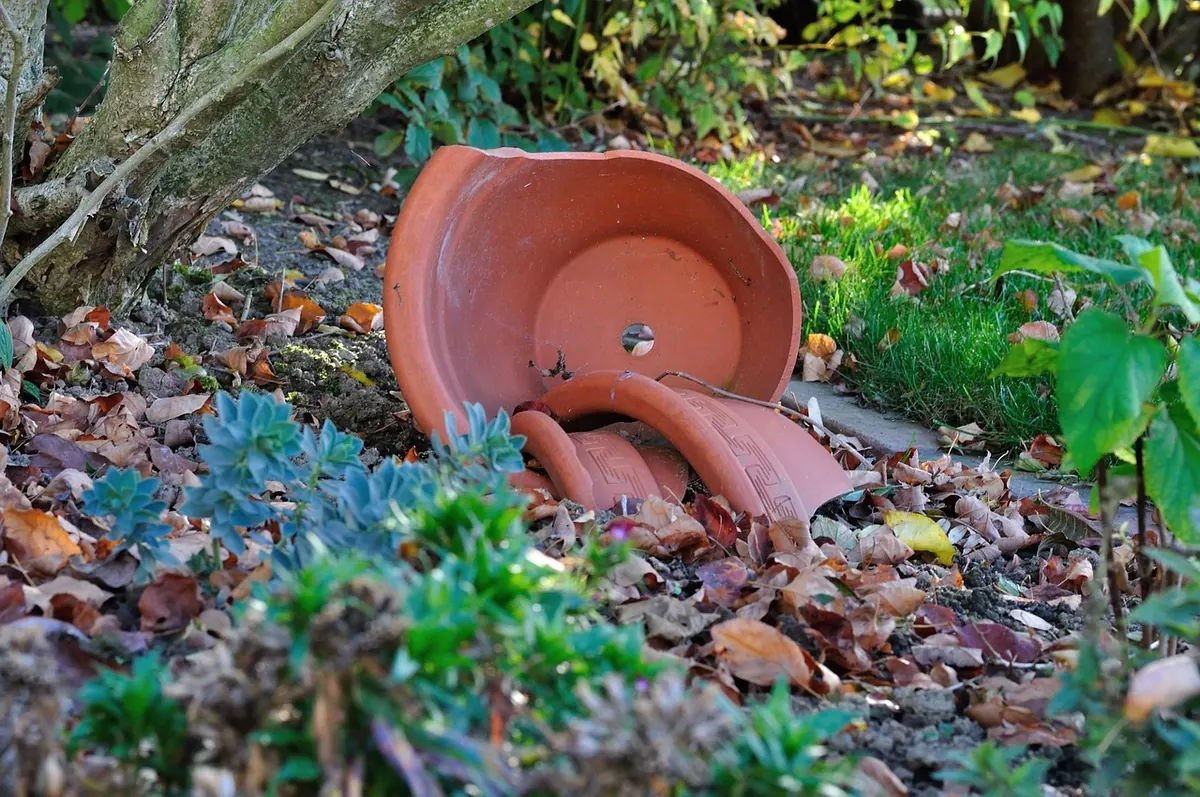
Terracotta is a broad term for iron-rich earthenware, and local red-firing clays often fall into this family. The material is forgiving in some ways and demanding in others. It responds well to slabs, press molds, and simple thrown forms, and its warm color can carry everything from domestic ware to sculptural pieces. It also tends to be less vitrified than stoneware, so functional pots usually need a well-fitting glaze or another suitable finish.
Drying is the first test. Terracotta can crack if thick and thin sections dry at different rates. Cover freshly made pieces loosely with plastic, keep them out of drafts, and turn them gently as they stiffen. For large or uneven forms, slow drying is not caution—it is part of the construction.
Firing local terracotta calls for a clear schedule and a test tile in the kiln. Iron-rich clays can behave differently from one deposit to another, and a body that looks fine at one temperature may bloat or warp at another. Fire in oxidation if you want the warm red-orange color to develop, and keep notes on the top temperature, soak, and cooling. If you plan to use the pots for food or drink, test the finished surface for glaze fit and durability rather than assuming an unglazed earthenware surface is suitable.
Letting the Material Speak
Local clay is most distinctive when its surface is not forced into imitation. A slip made from the same clay, sieved and thinned, can give a pot a softer, more integrated finish than a commercial brush-on layer. Terra sigillata—a very fine clay slip—can be burnished onto leather-hard forms for a subtle sheen. Engobes, texture, and simple stamping also suit material that already has color and grit of its own.
Glaze fit deserves attention. A glaze that shivers or crazes on a commercial body may behave differently on a local one. Make test tiles with the same clay, slip, and glaze combination, and fire them together. If you use local clay in a glaze or slip, sieve it well and test it before applying it to a finished piece. The aim is not to hide the material but to give it a surface that belongs with it.
Start Small, Keep Notes
Begin with a five-kilogram sample, not a studio-wide conversion. Record where it came from, how it was processed, how it felt, how long it took to dry, and how it fired. Photograph the test tiles beside a label. Keep the failures, too; they are often more instructive than the successes.
Over time, a few local materials can become a working palette: one clay for throwing, one sandy body for sculpture, a slip for surface, perhaps a grog made from fired scraps. The process is slow, but that is part of its value. You learn the ground under your feet by testing it in your hands, one small batch at a time.
Photo: dime868 / Pixabay