A Beginner's Checklist for Setting Up a Home Pottery Studio
Buying a wheel is the easy part. What separates a studio you use every week from a corner of the garage you quietly avoid is everything around the wheel: how the air moves, where the clay lives, how far you have to walk with wet hands, and whether cleanup takes two minutes or twenty. Before you spend money on equipment, spend an evening planning the room. Here is the checklist worth working through first, in roughly the order the decisions matter.
Start With the Room, Not the Wheel
Measure the space honestly. A wheel needs elbow room and a stool you can tuck under, so allow at least two metres of width; a hand-building table wants a metre of clear floor on every working side. A small spare bedroom can work well, but a shared garage demands more discipline about dust and temperatures.
Floors matter more than walls. Bare concrete or a sealed hard floor is ideal. Tile is fine, though grout will stain with iron-rich clay, and carpet is a genuine problem because it traps silica dust and never really comes clean. If you must work over carpet, lay down a heavy rubber mat or interlocking foam and lift it regularly.
Next, water and power. A utility sink is wonderful, but two buckets — one for rinsing, one for clean water — will get you through your first year. Put power where your hands are, not across the room, and have the circuit protected by an RCD or GFCI. Clay and water together make an ordinary extension lead a bad idea; keep cords off the floor and out of splash range.
Finally, decide about firing before you build anything. Many home potters make work at home and fire at a local studio or a firing service, which removes an entire category of expense and risk. If you do plan to fire at home, treat the kiln as its own project: it needs a non-combustible base, clearances to the manufacturer's specification, dedicated ventilation and, usually, a dedicated circuit. Have a qualified electrician assess the supply, and check local rules about kilns in residential spaces. That is not a decision to improvise.
Ventilation and Dust Control
Silica dust is the one health issue in ceramics that deserves real respect, and it comes from dry clay, trimming, mixing powdered materials and sweeping. The good news is that almost all of it is preventable with habits rather than equipment.
Work wet. Sponge surfaces instead of sanding them. Wipe tools and bats with a damp cloth rather than brushing them off. Never dry-sweep a studio floor; wet-mop it, or vacuum with a machine rated for fine dust. Keep clay in lidded bins and bags rather than open on a shelf, and wear a properly fitted particulate mask when you handle dry clay, mix plaster or open a bag of powder.
For ventilation, aim for cross-flow: an open window or door on one side, and a fan extracting air to the outside on the other. A fan that merely blows air around the room just moves dust from the shelf to your lungs. One caution: strong draughts across the wheel will dry pots unevenly and cause cracks, so set up ventilation to clear the air between sessions rather than blasting your work in progress.
If you are installing extraction, kiln ventilation or anything involving ductwork through a wall, get advice from someone qualified rather than guessing at airflow.
Clay Storage and Reclaim
Clay is heavy, cold and prone to drying out, so store it off the floor on shelving fixed to the wall. A concrete floor wicks moisture and chill into bags, and a shelf that sags under the weight of twenty kilos is a hazard. Label everything: clay body, colour, and the date you opened it. Dark stoneware and porcelain can contaminate each other, so keep their offcuts and reclaim separate, with separate buckets and separate tools.
To keep open clay workable, use a damp box — a lidded plastic crate with a plaster slab in the bottom — or simply wrap pieces in plastic with a damp sponge. For reclaim, keep a lidded bucket of slurry, let the solids settle, pour off the clear water and spread the slop on a plaster bat to stiffen. Never pour clay water down a sink; it sets in the trap like weak concrete.
One rule that saves kilns and friendships: keep plaster and clay completely apart. Chips of set plaster caught in clay can blow out in the fire. Mix plaster in its own area, with its own bucket and its own tools, and clean up properly afterwards.
The Starter Tool Kit
You do not need a catalogue. Buy the basics, then add tools as a specific need appears — that way each purchase earns its place.
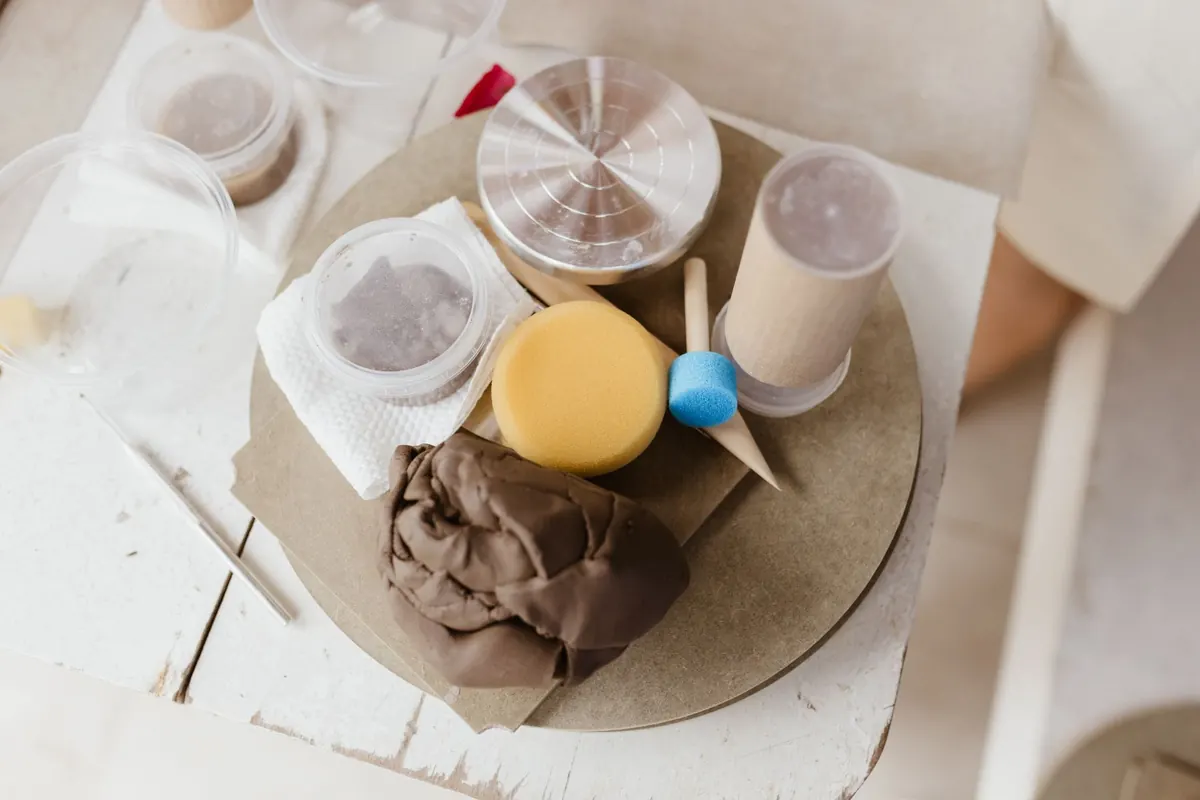
- Wire clay cutter for slicing blocks and lifting pots off the wheel head.
- Needle tool for scoring, trimming and checking wall thickness.
- Wooden modelling tools in two or three shapes for shaping and refining.
- Sponges — several, kept clean, plus a dedicated one for cleanup.
- A rib, metal or wooden, for compressing and smoothing rims and walls.
- Bats or ware boards so pieces can be moved without touching them.
- Two lidded buckets: one for slop, one for clean water.
- Cheap plastic sheeting for slow, even drying.
- A spray bottle to keep work damp between sessions.
- A kitchen scale for consistent wedging and reclaim batches.
Layout: Build the Room Around Wet Hands
Think in zones rather than in objects. You want a throwing area, a hand-building surface, a drying shelf and a dirty corner for reclaim and cleanup. The distances between them are what you will feel every session.
Keep the walk from wheel to water short and unobstructed, because you will make it constantly. Put the wheel on a tray or rubber mat so the splash zone has an edge. Set the wheel and stool to a height where your forearms rest comfortably on your thighs, and keep bats and ware boards within reach rather than behind you. A wedging surface — a plaster bat or a canvas-covered board — belongs near the clay storage, not next to the drying shelf.
Drying needs its own consideration. Ware should dry slowly and evenly, away from radiators, sunny windows and draughts; a shelf on an interior wall, loosely covered with plastic, is usually kinder than the warmest spot in the room. Check that shelves are strong, wall-anchored and high enough to take a bat plus a tall cylinder, and leave the clear floor space you will need when something inevitably gets knocked over.
Safety Essentials You Should Not Postpone
Some of this is mundane and some of it is serious, and it all belongs on the list before the first session.
- Dust protection: a fitted particulate mask, stored somewhere it stays clean, for dry materials and cleanup.
- Electrical safety: RCD/GFCI protection, no trailing leads near water, plugs kept dry.
- Floor safety: a mop and bucket kept handy, non-slip matting near the wheel, immediate cleanup of slurry.
- Fire and fumes: a suitable extinguisher, and a smoke and carbon monoxide alarm if you fire at home.
- Material hygiene: labelled containers, glazes and powders out of reach of children and pets, no food or drink on the workbench, and hands washed before you eat.
- Basic first aid: a small kit, and the habit of trimming towards your body, not towards your fingers.
If you are handling glazes for food-contact work, read the manufacturer's guidance on suitability and firing range, and ask a supplier if anything is unclear. For anything involving kiln installation, ventilation or your electrical supply, use a qualified professional — it is cheaper than the alternative.
Before Your First Throw: A Five-Minute Check
Fill the rinse bucket and the slop bucket. Set out a sponge, a wire cutter and a needle tool within arm's reach. Secure the bat, lay the plastic sheet where a finished piece will sit, and check the mask is on its hook rather than buried under bags. Wet-mop the floor if you have been moving clay around, and open a window.
That is a working studio: not finished, not expensive, just ready. Your layout will shift as you learn what you reach for and what you never touch, and that is fine. Set it up well enough to be safe and easy to clean, then spend your energy on the clay.
Photo: Jonathan Borba / Pexels